Painting Miniatures - A Beginner's Guide to Painting Warhammer 40k Miniatures
Painting Warhammer 40,000 (40k) miniatures is an engaging and rewarding hobby that brings the iconic characters and armies of the Warhammer universe to life. Whether you're a seasoned hobbyist or new to the world of miniature painting, the process can seem daunting at first. This beginner's guide aims to provide a comprehensive introduction to painting Warhammer 40k miniatures, with tips, techniques, and advice to help you create stunning results on the tabletop.
Getting Started: Essential Tools and Supplies
Before diving into the world of miniature painting, it's essential to gather the necessary tools and supplies. Here is a list of basic items you will need:
- Warhammer 40k miniatures
- Primer (spray or brush-on)
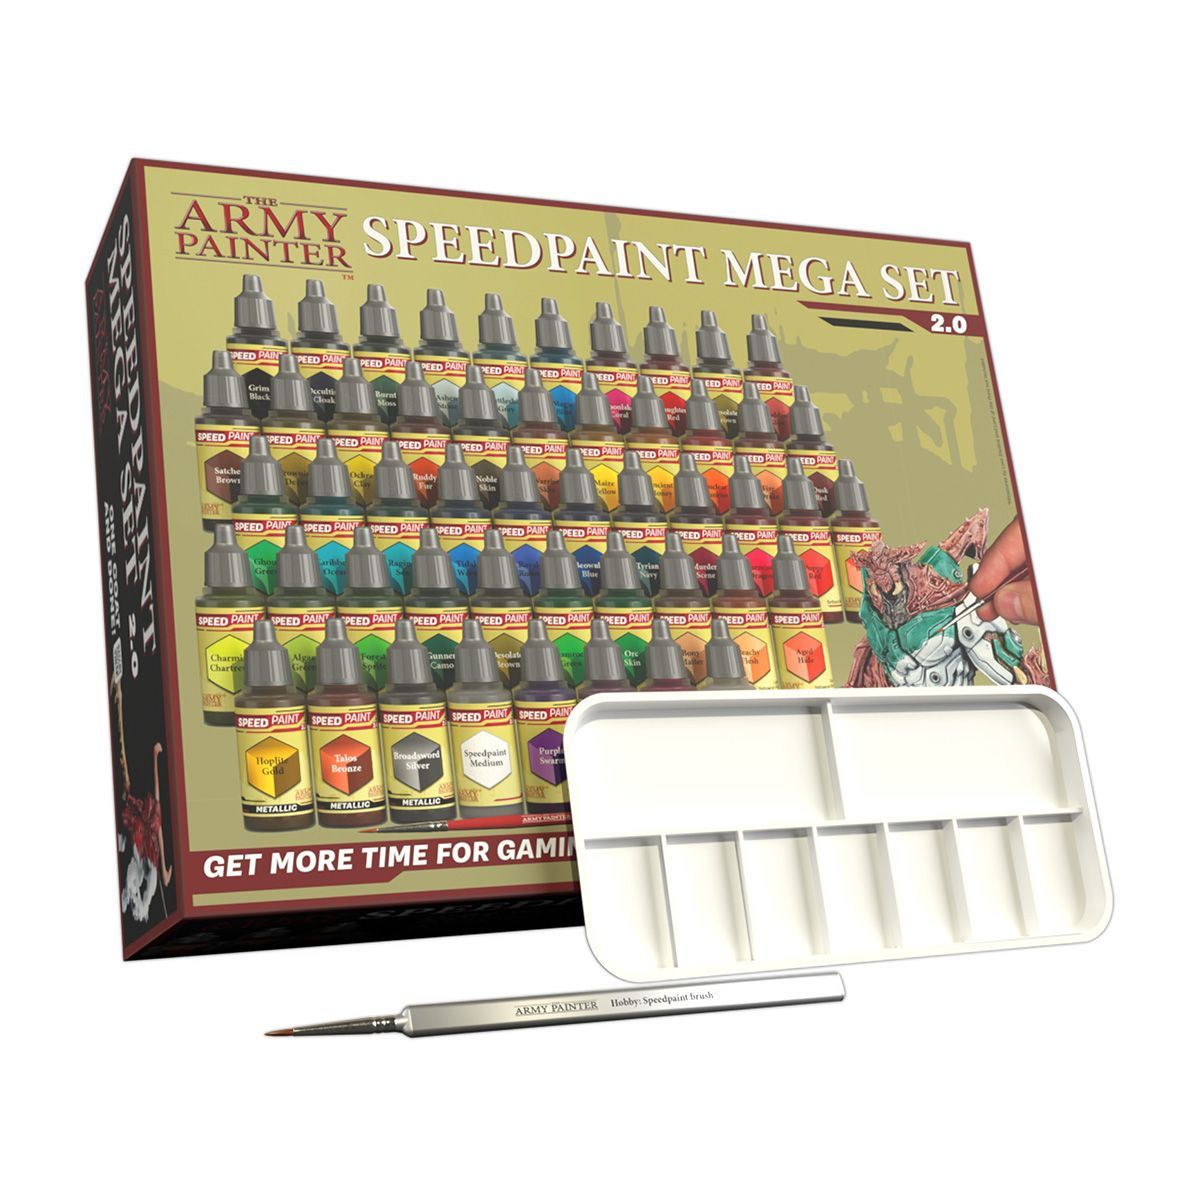
- Acrylic model paints
- Paintbrushes (in various sizes)
- A palette (for mixing and thinning paints)
- A cup of water (for cleaning brushes)
- Paper towels (for wiping brushes)
- Hobby knife and file (for preparing the miniature)
- A work surface (covered with newspaper or a protective mat)
- Optional: A wet palette (to prolong the usability of thinned paints)
Preparing the Miniature
Before painting, it's crucial to prepare the miniature by removing any excess mold lines or flash (thin pieces of plastic or metal left over from the manufacturing process). Use a hobby knife or file to carefully clean up these areas. Next, wash the miniature with mild dish soap and water to remove any release agent residue from the manufacturing process, then rinse thoroughly and let it dry completely.
Assembling the Miniature
Some Warhammer 40k miniatures come in separate pieces that need to be assembled before painting. Carefully dry-fit the parts to ensure proper alignment and use plastic cement or super glue to secure them together. In some cases, it may be easier to paint certain parts of the miniature before assembling it, especially if the assembled model would have hard-to-reach areas.
Priming the Miniature
Applying a primer coat is essential for providing a uniform surface that allows the paint to adhere properly to the miniature. You can choose from a range of primer colors, but black, white, and grey are the most common options. Black primers create more contrast and shadow, while white primers are ideal for brighter color schemes. Grey primers offer a balance between the two. Use a spray primer or brush-on primer, applying thin, even coats to cover the entire miniature. Allow the primer to dry thoroughly before moving on to painting.
Base Coating the Miniature
Begin painting by applying base coats of color to the various areas of the miniature. Use acrylic model paints designed for miniatures, as they offer excellent coverage and a wide range of colors. Thin your paint with water on a palette to create a smoother, more manageable consistency. Apply thin coats, allowing each layer to dry before applying the next. This process may require multiple coats to achieve even coverage and vibrant colors, but patience is key to achieving the best results.
Shading and Highlighting
To create depth and realism, use shading and highlighting techniques on your miniature. Shading involves applying a darker color (such as a wash or ink) to the recesses and crevices of the miniature to create shadows. In contrast, highlighting involves applying lighter colors to the raised areas and edges to emphasize detail and create a sense of depth.
To shade the miniature, use a wash or make one by thinning darker paint with water or medium. Apply the wash carefully to the recesses, allowing it to flow into the crevices naturally. Allow the wash to dry